
 |
| EASTERN MICHIGAN GRAIN ELEVATOR |
Work has begun on Emmett. Again, I started by drawing the building out on paper and then making cardboard mock-ups. Once I was satisfied, I built the base shell out of .060 styrene. Laminated to the outside of the styrene shell is Evergreen #4525 .030" Spacing Metal Siding. The actual thickness of the Evergreen siding materials are either .020 or .040 so this has to be compensated for (or at least factored into) in the base shell dimensions.
On this particular building, the metal siding on the lower portion of the structure is mounted horizontally. The upper tower and head house both have siding mounted in the more common vertical fashion.
Windows again were difficult to find in the right dimensions, so in the interest of saving a little time I tried to find the closest ones I could and continued forward.

In the next picture I am starting to get the site layout in order for Emmett. I am using PVC pipe for the base structure of the concrete stave silos. Once the building foundation is complete it will add 4 more feet, bringing the lower silos up to 60 feet tall. The top is an additional 25 feet high. In hind site, given the design of the base, I should have just extended the tube length the additional 4 scale feet and then built the base around the silos.

Here is another look from a slightly different angle.

The PVC tubes will get a veneered layer of Evergreen #2100 V-Groove .100" spacing siding applied. The #2100 V-Groove is only .20 thick which makes it much easier to form around cylinders.
After further review of upcoming builds, I determined that the shorter PVC sections could be used on another elevator project. Therefore, I went back and cut new PVC sections that are a full 60 scale feet tall. Here is a look at the above mentioned Evergreen V-Groove glued to the PVC tubes. This veneered layer represents the concrete staves. This will be wrapped with wire to represent the steel hoops used to hold the staves tightly together.

The headhouse which sits above the silos is also of the concrete stave design but is not yet complete.
Here is another look at the tentative site layout for Emmett.

The loading shed will be in a position that the interior will be visible. It is therefore necessary to have the appropriate level of detail represented. The .060 framework will be covered with Campbell corrugated siding.

The base coat of paint for the silos is Valspar Satin Hunter's White.


I was able to get a little time over the Labor Day weekend to work on the elevator. I started with gluing an additional piece of .020 thick styrene to the floor of the vehicle loading bay. On this I scribed all of the expansion joints and cracks. At the entrances / exits, I cut chunks out to represent broken concrete. Once complete, I roughed the whole area with a lighting sanding of fine sand paper.
Next I added the stairs and edge guard for the interior loading dock. I also added the I-beam bent on the inside of the concrete entrance.
Finally, on the top and bottom I added some .250 x .250 styrene alignment blocks which will have a couple of purposes. First they will allow me to seat the silos in the proper locations as I take them on and off for future steps. Second, they will give additional anchor points when I finally glue the silos in place.

Next, I sprayed a coat of white spray paint onto the silos. This will help to hold the steel hoops in place. They are glued in the back, but I did not place any glue along the visible portions. I had noted on my experimental piece that any glue became immediately noticeable once paint was applied.
I also started adding Campbell's corrugated siding to the loading bay. The siding was painted Rustoleum Primer Gray before being applied.

Here is a reference shot of the loading bay.

Here are a couple views of the loading bay loosely seated to the building to give an idea of what the finished product will look like.


With the alignment blocks in place on the base, I masked off and painted the rest of the concrete foundation. For the base coat I again used Valspar Satin Hunter's White, followed by a light misting of a generic white spray paint, and Krylon Fushion # 2422 Satin Dove White.


I also positioned and glued the alignment blocks on the underside of the top.

Here the top is being test fitted to ensure everything will align as intended. I am also scrapping the original Head House. The core for the new head house will be 1 1/2" PVC Coupling. Once the final veneer is in place it will have the proper diameter.

Next up is weathering for the interior of the loading bay.
 |
| The back / north side of the facility |
Here is a look at the new Head House. I am now waiting to purchase some N scale windows which I will use for the small windows between the silos. An example of one can be seen in the prototype photo above.


The conveyor system will pose a bit of a challenge. There is an enormous amount of detail in this scene. Most of the bins will need to be kitbashed or scratch built.

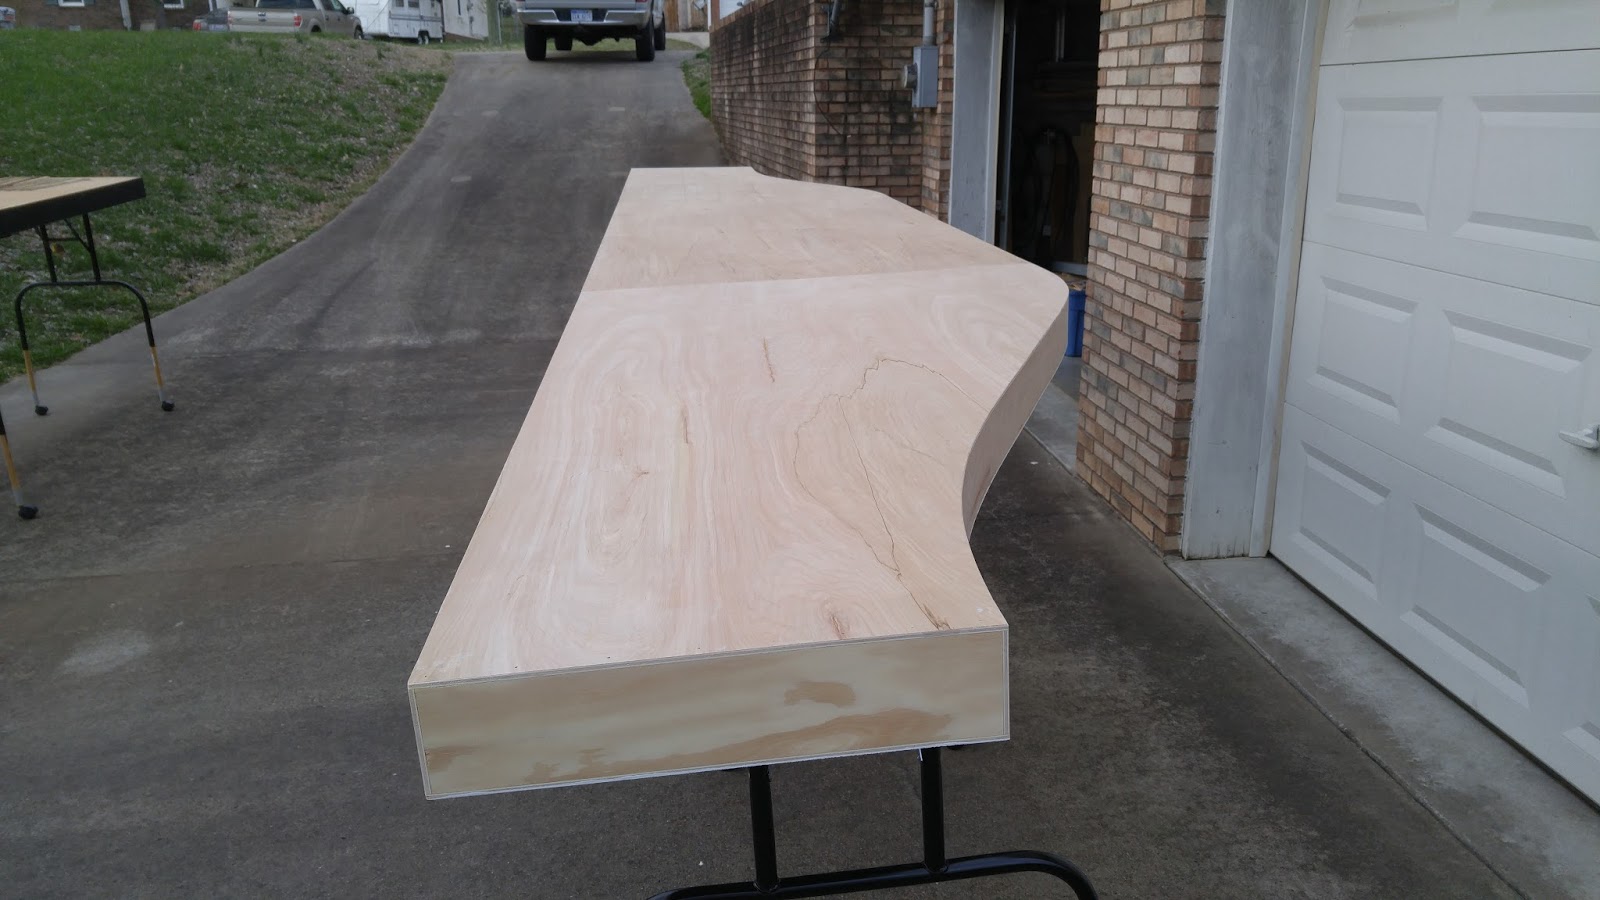
The Emmett module is beginning to take form. The entire scene is 24 feet long. From West/Left to East/Right the module starts at 24 inches, then expands to 40 inches deep for the elevator scene before collapsing back to 18 inches and eventually 12 inches which it will remain all the way to West Tappan.


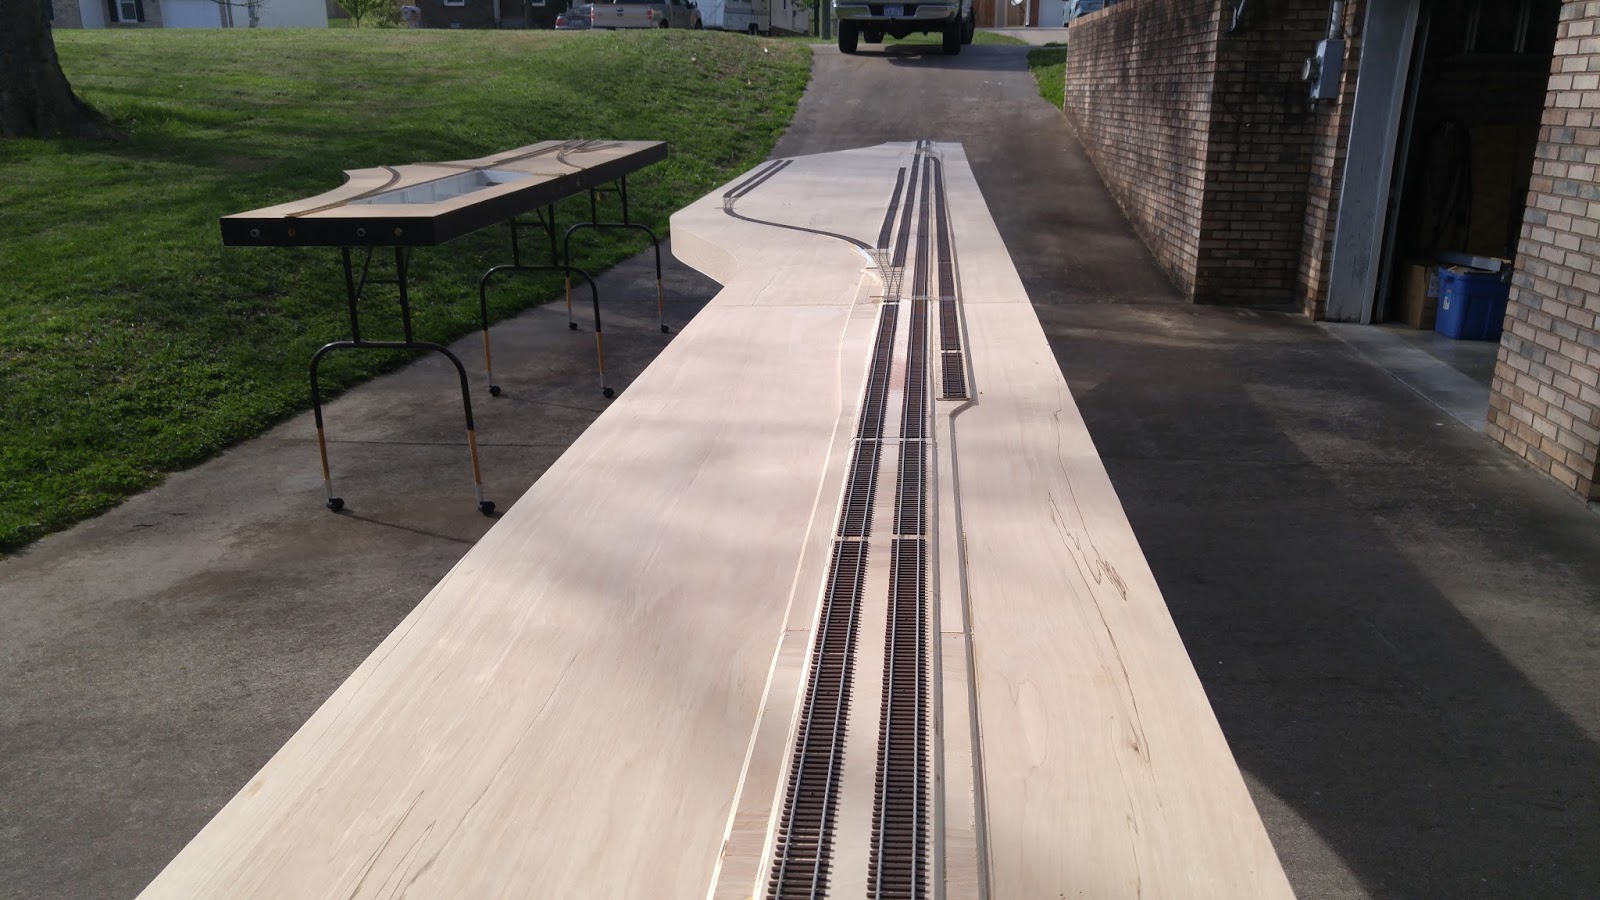
Next up will be the switch throw rods and recessed pockets for the switch knobs.


I elected to go with a slightly different approach to track painting for Emmett in order to test some new colors, and try some new techniques. Some of these techniques were my own conception, while others are derived from various hobbyist within the community. The main difference in the approach I will use here is to deviate from my traditional approach of choice which is to start light and the highlight with darker colors. Here I will be experimenting with a darker base highlighted with lighter colors. This will be primarily for the mainline and siding. I want the spur track ties to remain light in color, therefore I will go with a light base for them. Below are the colors I have selected to start with. The Rust-Oleum Satin Stone Gray, and Nutmeg are available at most any stores. The GAF shingle match line is available from Home Depot or Lowe's.

The spur tracks received a base coat of Rust-Oleum Satin Stone Gray. The mainline and siding both started with a coat of GAF Weathered Wood.

 |
| GAF Weathered Wood |
Next I oversprayed both mainline and siding with Rust-Oleum Satin Nutmeg followed immediately with GAF Barkwood so they could mix while still wet.The initial result looked promising, and both colors appeared to remain separate. Once they dried however, this separation was not as noticeable and had nearly covered the base coat to the point of irrelevance. That said, it is not likely that I will use this approach again.

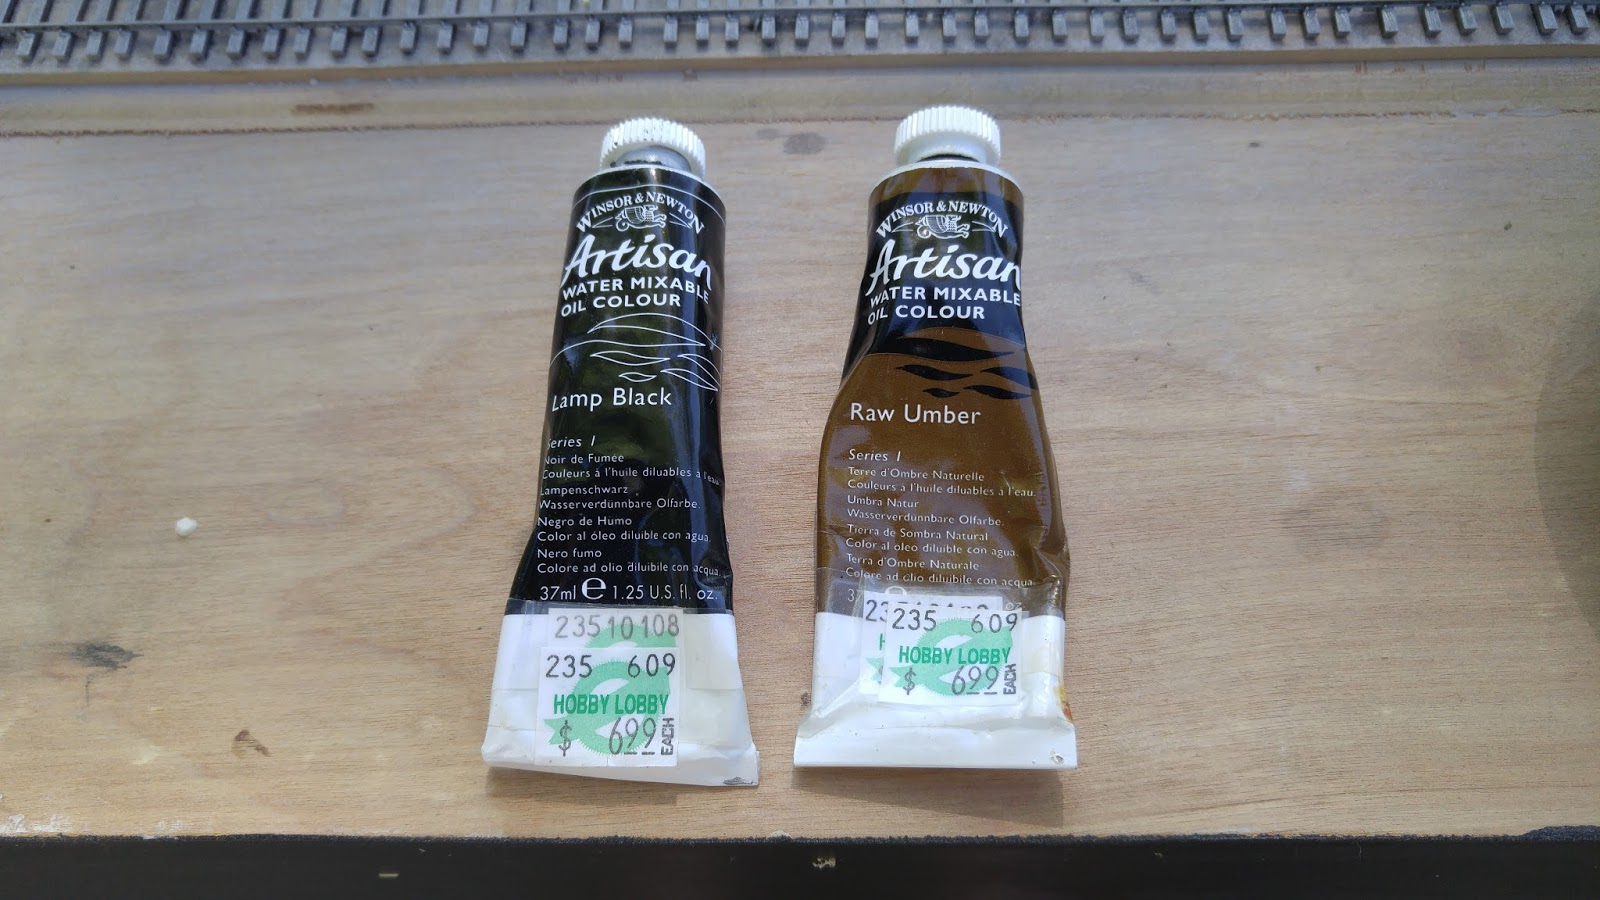
Once everything had dried for several hours, I began the initial wash process. The first wash was a mix of Lamp Black and Raw Umber Water Mixable Oils thinned with Odorless Mineral Spirits. The idea again, as stated on previous pages, is to allow the wash to eat into the base coat slightly. This first wash was a light mix applied heavily with a soft bristle brush to all of the spur tracks, but not the mainline or siding.


Once this coat had been allowed to dry I began the process of painting and highlighting individual ties with varying mixes of Lamp Black and Burnt Umber thinned with Ammonia and water. This process is very similar to the approach Mike Confalone uses on his Allagash system. The goal is to simulate a mixture of older and newer ties as aged or damaged ties are replaced during ROW maintenance and upkeep. Once everything was dry, all of the track was given a spray of Testors Dullcote to lock this progress in.

After the Dullcote had dried. I masked off the rail on the spur tracks and painted them Rust-Oleum Camouflage Dark Brown. I then went back over the entire scene with a second wash of Lamp Black and Burnt Umber thinned with Ammonia and water. This wash was slightly heavier than the initial wash. The second wash complements but does not eat into the base wash.

At this point I am waiting for rail joint bars to show up in the mail. I will then add some additional detailing to the track and turnouts before I finish painting the rails.
No comments:
Post a Comment